
For you, what would be the best process or method in designing a website? Should the creative design process be different from the coding, or should they be one and the same? Should we build replicas in a layout application and then slice them up for the browser, or is there a better way?
One of the popular process held in custom web designing is slicing with Photoshop. The term slicing means to chop up pieces of the web page using a specific set of tools. These divided pieces are then reassembled using an HTML table or CSS layers and are assigned with different URL links to create page navigation or own optimization settings.
The main purpose of slicing is to make the process of saving out a bunch of images or graphics easier both in the short run for the initial build, and in the long run to make revisions. Hence, it saves the user from the trouble of cropping out each portion manually and saving it.
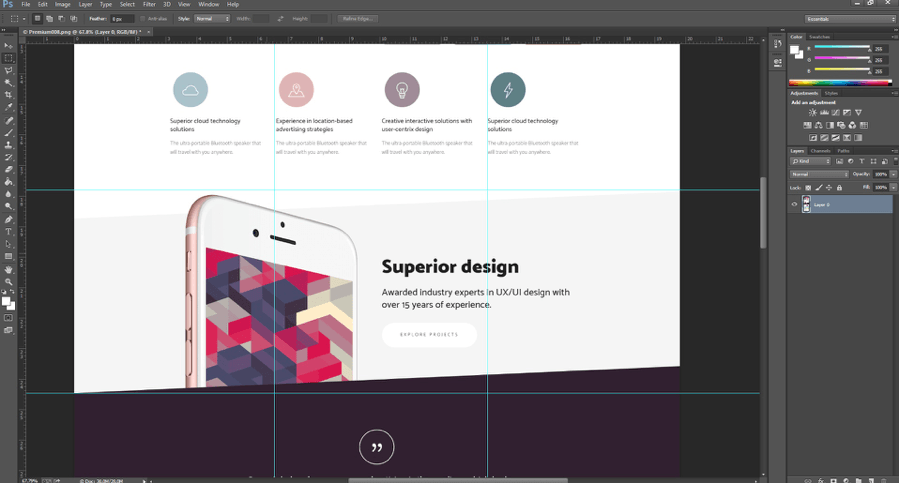
Slices are categorized by their content type and by the way they are created. Below is an example of the slicing process:
Slices created with the Slice tool are called user slices
In the tool bar, select (See image on the right) .(Press the C key to cycle through tools grouped with the Crop too.) Take note that any existing slices automatically appear in the document window.
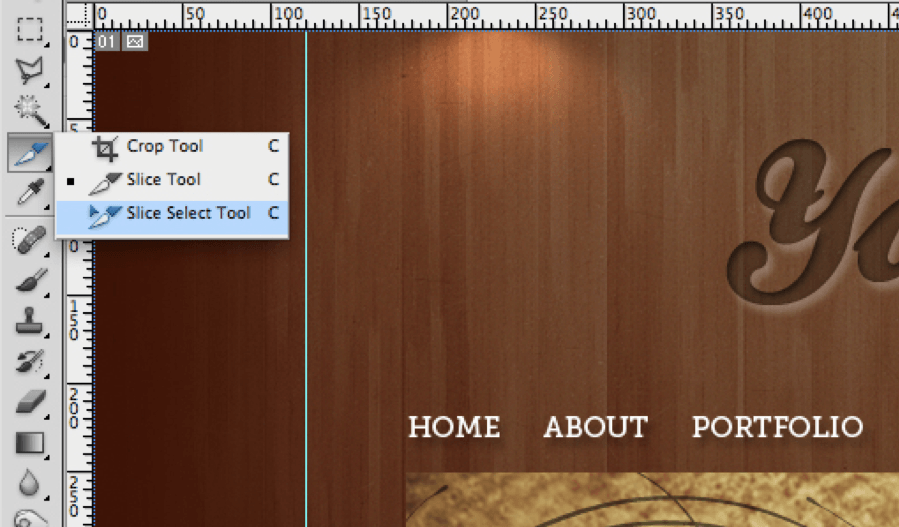
Choose a style setting in the options bar. It could be normal, fixed aspect ratio or fixed size.
Normal – This will become a slice depending on where you begin and end the box you draw on the image.
Fixed Aspect Ratio – This is where a user sets a height-to-width ratio. Enter whole numbers or decimals for the aspect ratio. For instance, if you want to create a slice with a three to one ratio, you would enter 3 for the height and 1 for the width.
Fixed Size – This is where you set the height and width of the slides in pixels. Enter pixel values in whole numbers.

Drag over the area where you want to create a slice. Shift-drag to constrain the slice to a square. Alt-drag (for Windows) or Option-drag (for Mac OS) to draw from the center. Use View > Snap To to align a new slice to a guide or another slice in the image.
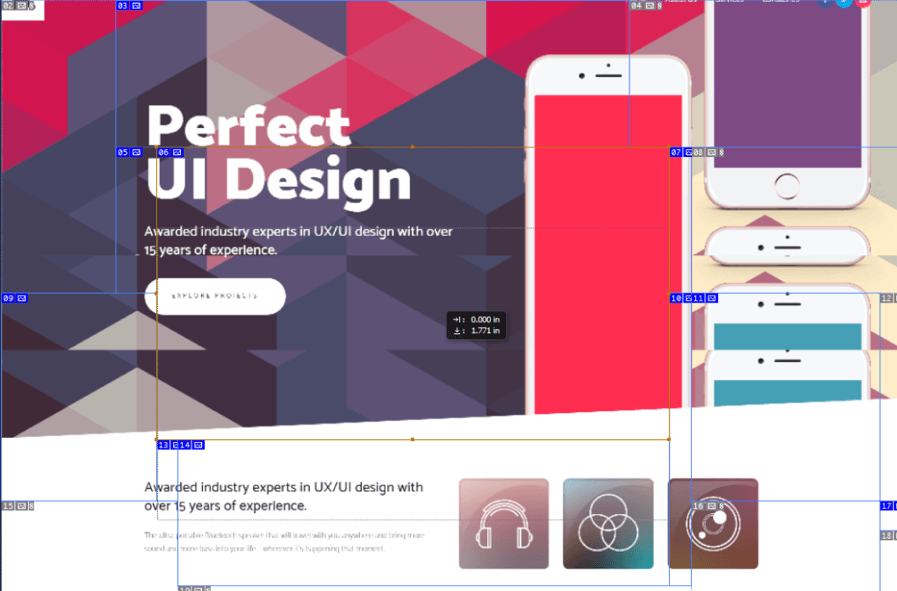
Auto slices are automatically generated
Unlike user and layer-based slices, auto slices are automatically generated to account for the remaining areas of the image. In other words, auto slices fill the space in the image that is not defined by user slices or layer-based slices.
How to save
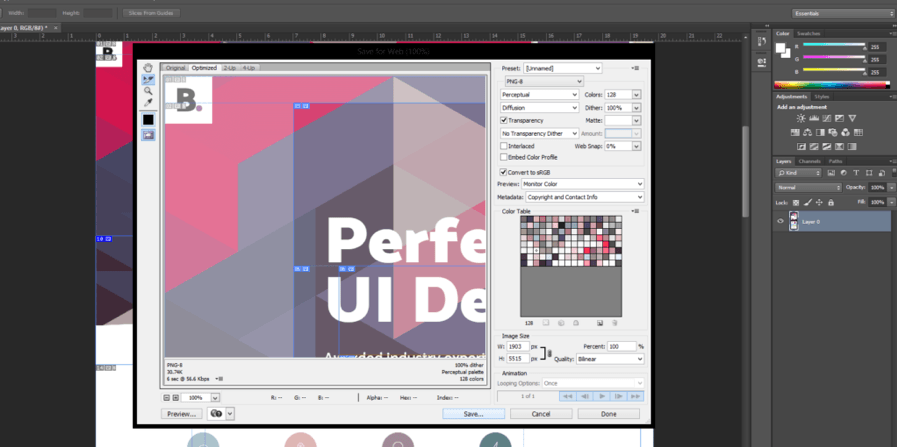
Once you are satisfied with your layout, go to File > Save for Web. From there, you can either set the file type and compression for each slice or go with the default listed in the Save for Web dialog box. Once you are satisfied with your settings, hit on the save button.
Web designers have their own unique ways of enhancing their websites. After all, the ultimate goal is to keep what’s best for the user in mind. If you need a custom website and believe slicing, then go for it! We hope this gives you a better understanding of what goes into the process of creating a custom design for your website.

